|
Grand Union Canal Leicester Section |
 |
Click the photo to the sub menu - Cliquer la photo pour le sous-menu |
Foxton |
Click the photo to the sub menu - Cliquer la photo pour le sous-menu |
Debdale Wharf |
Click the photo to the sub menu - Cliquer la photo pour le sous-menu |
Debdale |
Click the photo to the sub menu - Cliquer la photo pour le sous-menu |
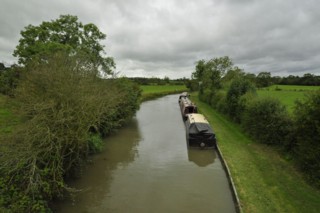
Smeeton Hill |
Click the photo to the sub menu - Cliquer la photo pour le sous-menu |
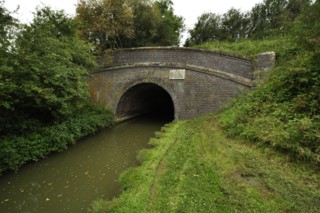
Smeeton Westerby |
Click the photo to the sub menu - Cliquer la photo pour le sous-menu |
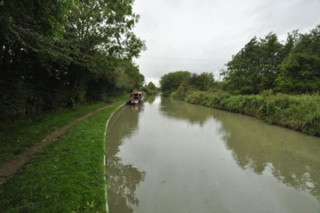
Fleckney |
Click the photo to the sub menu - Cliquer la photo pour le sous-menu |
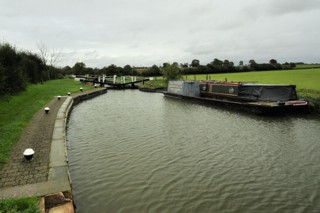
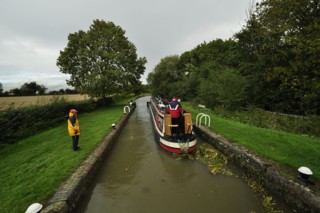
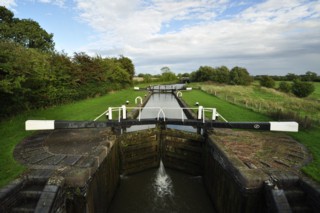
Kibworth Locks |
Click the photo to the sub menu - Cliquer la photo pour le sous-menu |
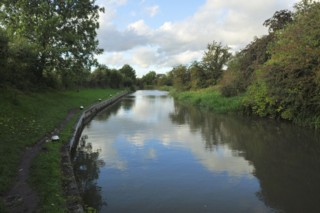
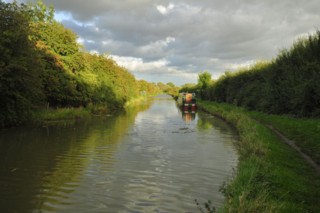
Kibworth Beauchamp |
Click the photo to the sub menu - Cliquer la photo pour le sous-menu |
Wistow
|
Click the photo to the sub menu - Cliquer la photo pour le sous-menu |
Wistow
|
Click the photo to the sub menu - Cliquer la photo pour le sous-menu |
Newton Harcourt
|

Click the photo to the sub menu - Cliquer la photo pour le sous-menu |
Newton Harcourt
|
Click the photo to the sub menu - Cliquer la photo pour le sous-menu |
Tythorn Hill
|
Click the photo to the sub menu - Cliquer la photo pour le sous-menu |
Tythorn Hill
|
Click the photo to the sub menu - Cliquer la photo pour le sous-menu |
Tythorn Hill
|
Click the photo to the sub menu - Cliquer la photo pour le sous-menu |
Kilby Bridge
|

Click the photo to the sub menu - Cliquer la photo pour le sous-menu |
Kilby Bridge
|
Click the photo to the sub menu - Cliquer la photo pour le sous-menu |
Kilby Bridge
|
Click the photo to the sub menu - Cliquer la photo pour le sous-menu |
South Wigston |
Click the photo to the sub menu - Cliquer la photo pour le sous-menu |
Blaby Mill |
Click the photo to the sub menu - Cliquer la photo pour le sous-menu |
Moat |
Click the photo to the sub menu - Cliquer la photo pour le sous-menu |
Glen Parva
|
Click the photo to the sub menu - Cliquer la photo pour le sous-menu |
Glen Parva
|
Click the photo to the sub menu - Cliquer la photo pour le sous-menu |
Glen Parva
|
Click the photo to the sub menu - Cliquer la photo pour le sous-menu |
Glen Parva
|
Click the photo to the sub menu - Cliquer la photo pour le sous-menu |
Aylestone
|
|
Visitez/Bezoek/Visit
Click on the image - cliquer sur l'image |
|
Walking the British Waterways |
|
|