|
Trent & Mersey Canal
From Trentlock to Great Haywood Junction |
 |
Click the photo to the sub menu - Cliquer la photo pour le sous-menu |
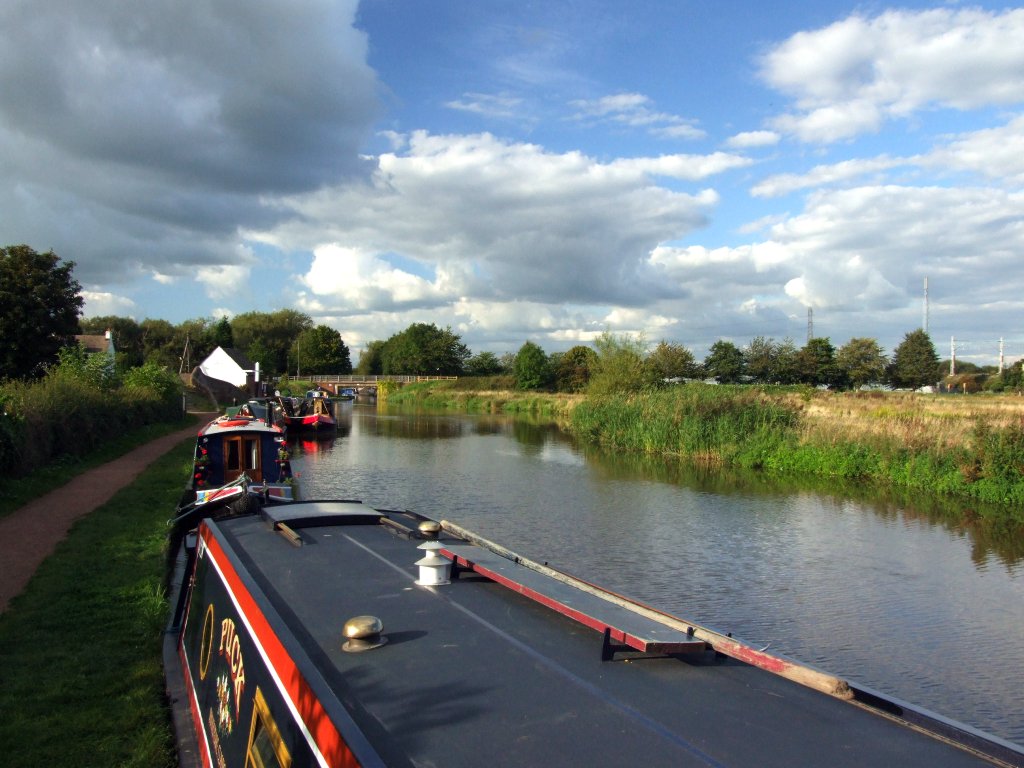
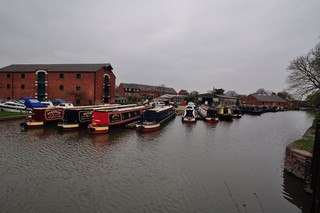
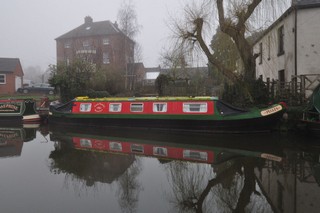
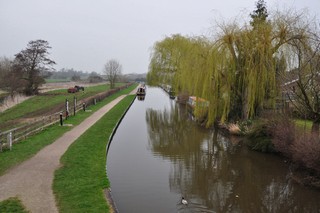
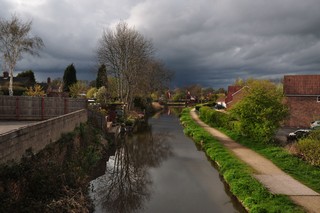
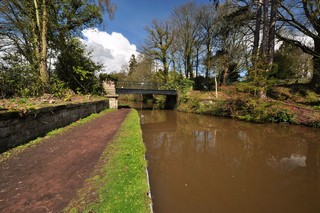
Trentlock |
Click the photo to the sub menu - Cliquer la photo pour le sous-menu |
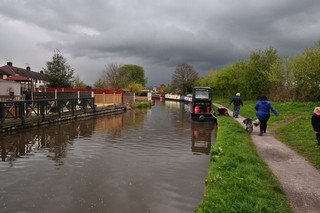
Sawley |
Click the photo to the sub menu - Cliquer la photo pour le sous-menu |
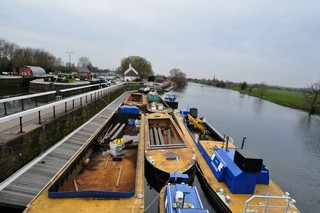
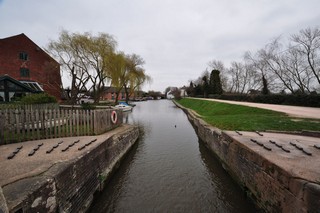
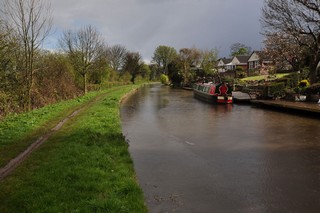
Derwent Mouth |
Click the photo to the sub menu - Cliquer la photo pour le sous-menu |
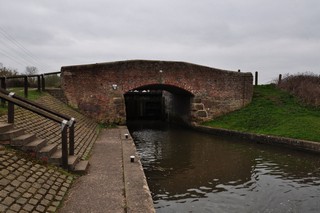
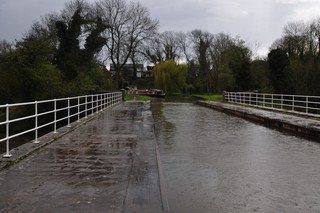
Wilne Lane |
Click the photo to the sub menu - Cliquer la photo pour le sous-menu |
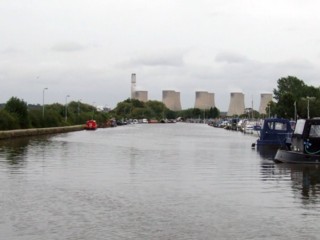
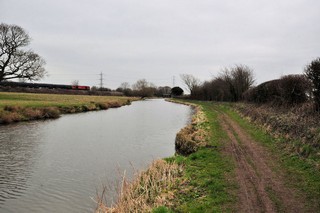
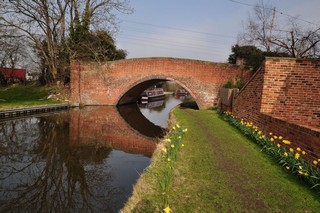
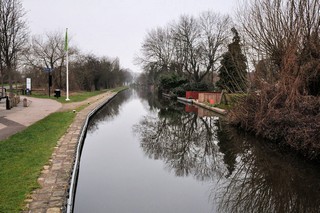
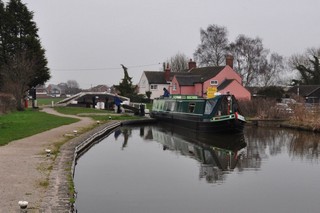
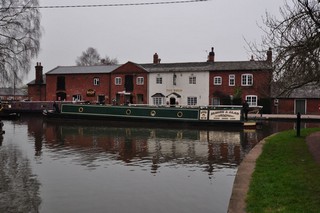
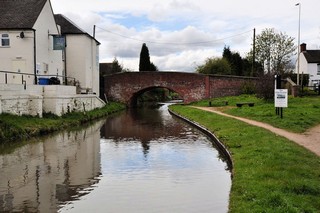
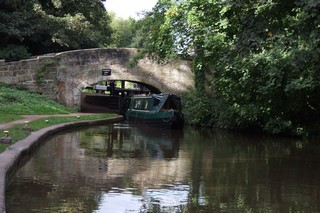
Shardlow |
Click the photo to the sub menu - Cliquer la photo pour le sous-menu |
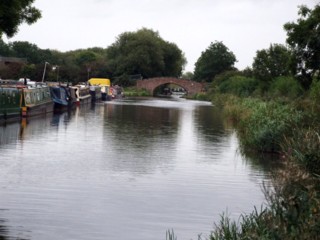
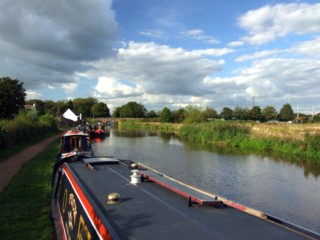
Aston-on-Trent |
Click the photo to the sub menu - Cliquer la photo pour le sous-menu |
Weston Grange |

Click the photo to the sub menu - Cliquer la photo pour le sous-menu |
Weston-on-Trent |
Click the photo to the sub menu - Cliquer la photo pour le sous-menu |
Cliff Wood |

Click the photo to the sub menu - Cliquer la photo pour le sous-menu |
The Cuttle |
Click the photo to the sub menu - Cliquer la photo pour le sous-menu |
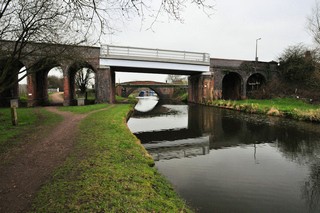
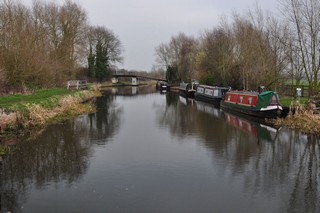
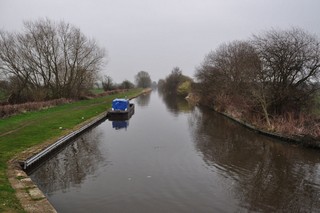
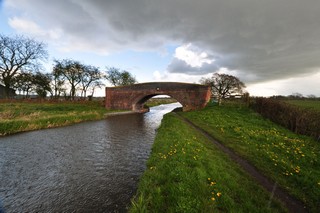
Swarkestone Junction |
Click the photo to the sub menu - Cliquer la photo pour le sous-menu |
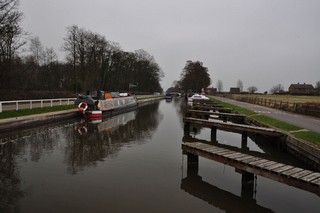
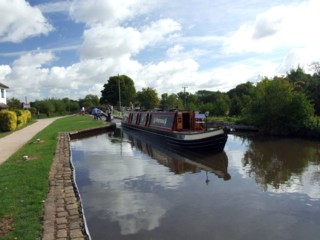
Swarkestone |
Click the photo to the sub menu - Cliquer la photo pour le sous-menu |
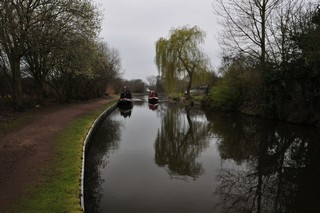
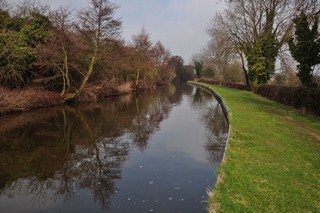
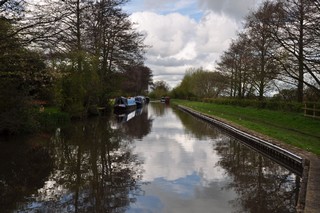
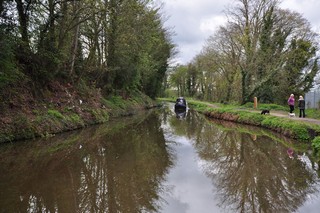
Barrow-upon-Trent |

Click the photo to the sub menu - Cliquer la photo pour le sous-menu |
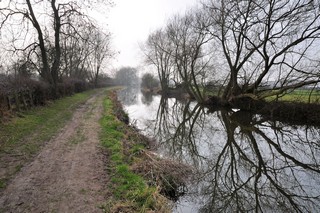
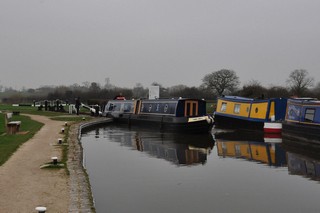
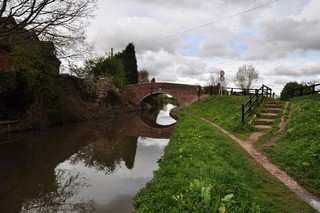
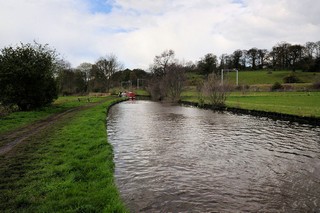
Stenson |
Click the photo to the sub menu - Cliquer la photo pour le sous-menu |
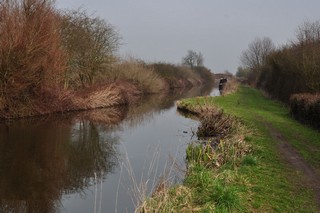
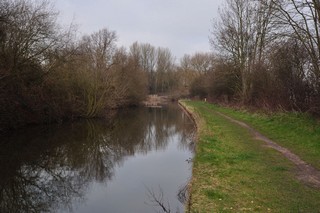
Findern |
Click the photo to the sub menu - Cliquer la photo pour le sous-menu |
Everglades |
Click the photo to the sub menu - Cliquer la photo pour le sous-menu |
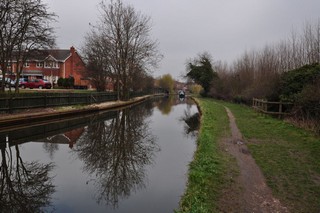
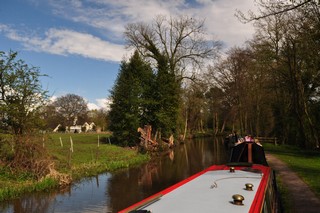
Willington |
Click the photo to the sub menu - Cliquer la photo pour le sous-menu |
Egginton |
Click the photo to the sub menu - Cliquer la photo pour le sous-menu |
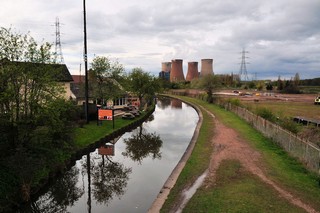
Rotherwood |
Click the photo to the sub menu - Cliquer la photo pour le sous-menu |
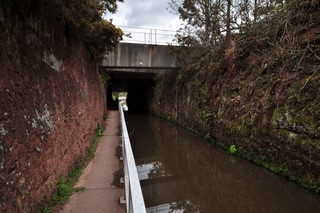
Pill Box |
Click the photo to the sub menu - Cliquer la photo pour le sous-menu |
Clay Mills |
Click the photo to the sub menu - Cliquer la photo pour le sous-menu |
Stretton |
Click the photo to the sub menu - Cliquer la photo pour le sous-menu |
Horninglow |
Click the photo to the sub menu - Cliquer la photo pour le sous-menu |
Shobnall |
Click the photo to the sub menu - Cliquer la photo pour le sous-menu |
The Rough |
Click the photo to the sub menu - Cliquer la photo pour le sous-menu |
Branston |

Click the photo to the sub menu - Cliquer la photo pour le sous-menu |
Oaks |
Click the photo to the sub menu - Cliquer la photo pour le sous-menu |
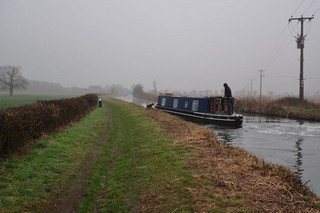
Barton Turn |
Click the photo to the sub menu - Cliquer la photo pour le sous-menu |
Catholme |

Click the photo to the sub menu - Cliquer la photo pour le sous-menu |
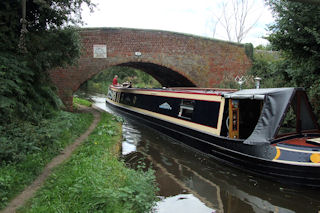
Wychnor Bridges |
Click the photo to the sub menu - Cliquer la photo pour le sous-menu |
Wychnor |
Click the photo to the sub menu - Cliquer la photo pour le sous-menu |
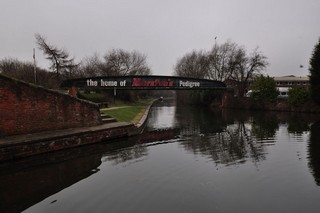
Alrewas
|
Click the photo to the sub menu - Cliquer la photo pour le sous-menu |
Alrewas
|
Click the photo to the sub menu - Cliquer la photo pour le sous-menu |
Alrewas
|
Click the photo to the sub menu - Cliquer la photo pour le sous-menu |
Bagnall |
Click the photo to the sub menu - Cliquer la photo pour le sous-menu |
Fradley |
Click the photo to the sub menu - Cliquer la photo pour le sous-menu |
Fradley Junction |
Click the photo to the sub menu - Cliquer la photo pour le sous-menu |
Fradley Wood |
Click the photo to the sub menu - Cliquer la photo pour le sous-menu |
Wood End |

Click the photo to the sub menu - Cliquer la photo pour le sous-menu |
Rileyhill |
Click the photo to the sub menu - Cliquer la photo pour le sous-menu |
Tuppenhurst |
Click the photo to the sub menu - Cliquer la photo pour le sous-menu |
Handsacre |
Click the photo to the sub menu - Cliquer la photo pour le sous-menu |
Armitage |
Click the photo to the sub menu - Cliquer la photo pour le sous-menu |
Armitage Wharf |
Click the photo to the sub menu - Cliquer la photo pour le sous-menu |
Brereton
|
Click the photo to the sub menu - Cliquer la photo pour le sous-menu |
Brereton
|
Click the photo to the sub menu - Cliquer la photo pour le sous-menu |
Rugeley
|
Click the photo to the sub menu - Cliquer la photo pour le sous-menu |
Rugeley
|
Click the photo to the sub menu - Cliquer la photo pour le sous-menu |
Brindley Bank |
Click the photo to the sub menu - Cliquer la photo pour le sous-menu |
Bishton
|
Click the photo to the sub menu - Cliquer la photo pour le sous-menu |
Bishton
|
Click the photo to the sub menu - Cliquer la photo pour le sous-menu |
Colwich |
Click the photo to the sub menu - Cliquer la photo pour le sous-menu |
Little Haywood |
Click the photo to the sub menu - Cliquer la photo pour le sous-menu |
Great Haywood |
Click the photo to the sub menu - Cliquer la photo pour le sous-menu |
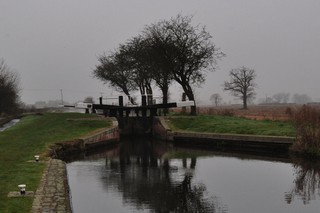
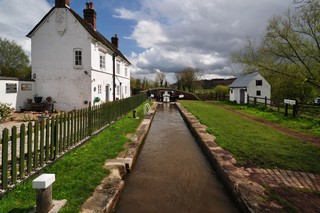
Haywood Lock |
Click the photo to the sub menu - Cliquer la photo pour le sous-menu |
Great Haywood Junction |
|
Visitez/Bezoek/Visit
Click on the image - cliquer sur l'image |
|
The Trent & Mersey Canal |
|
Walking the British Waterways |
|
|