| Ashted Locks |
 |
28-07-2009
Click to enlarge - Cliquer pour agrandir |
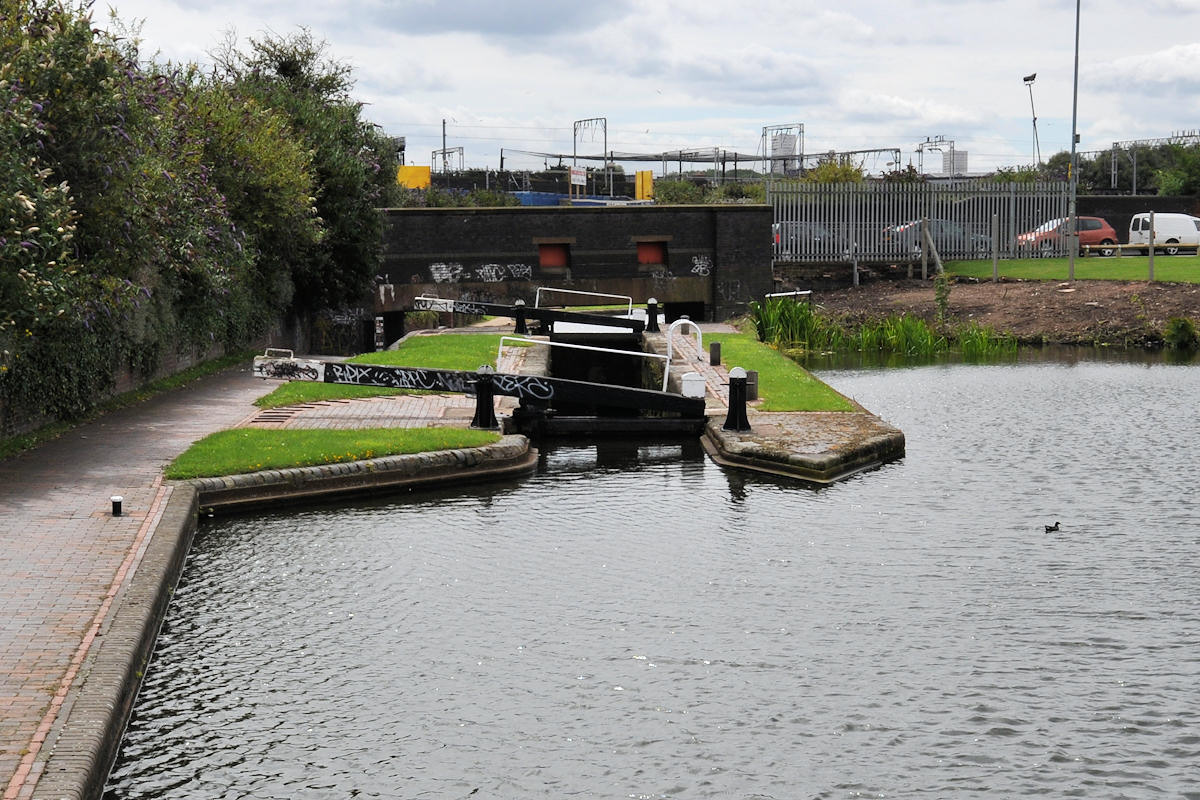
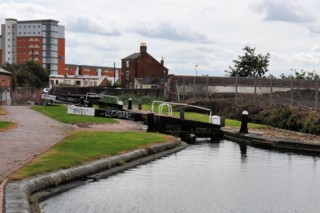
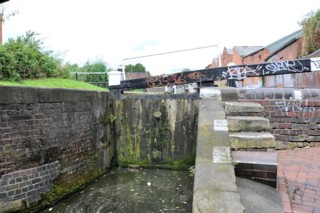
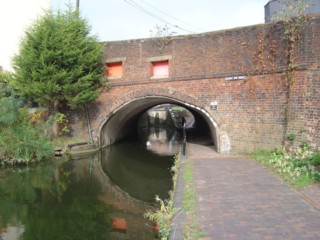
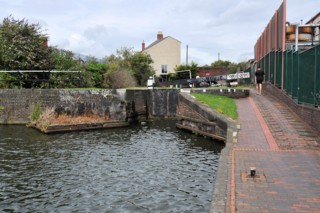
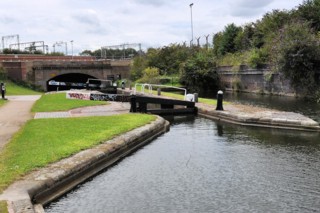
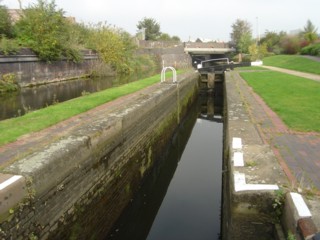
Ashted Top Lock No.1 seen from the North.
|
| L'Ecluse Supérieure n°1 d'Ashted vue du Nord. |
28-07-2009
Click to enlarge - Cliquer pour agrandir |
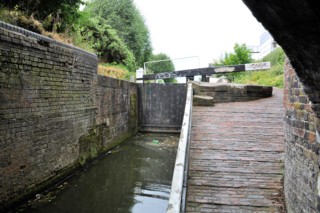
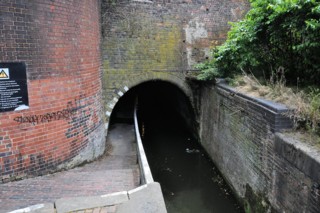
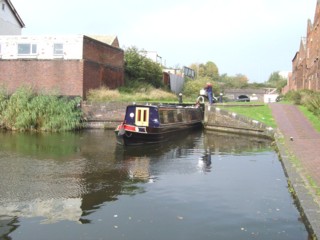
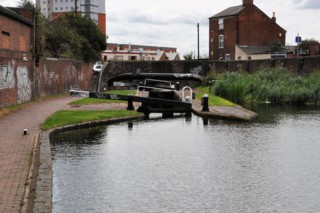
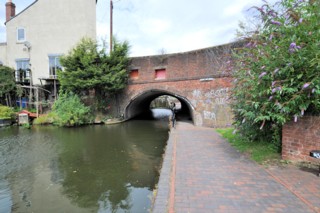
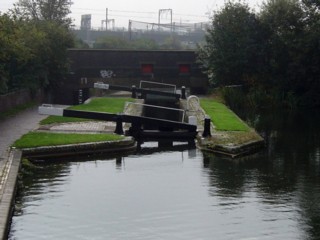
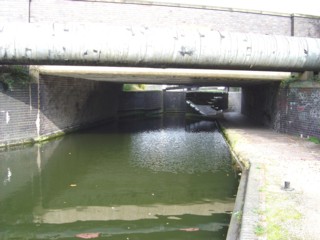
Ashted Top Lock No.1 seen from under Ashted Tunnel.
|
| L'Ecluse Supérieure n°1 d'Ashted vue de sous le Tunnel d'Ashted. |
16-10-2005
Click to enlarge - Cliquer pour agrandir |
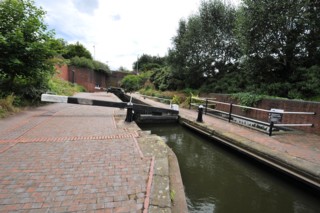
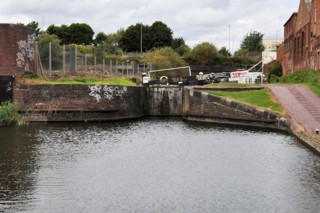
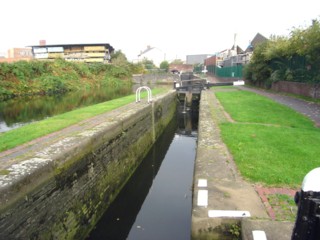
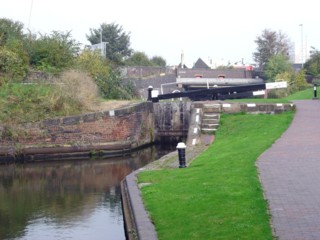
Ashted Top Lock.
|
| L'Ecluse Supérieure d'Ashted. |
28-07-2009
Click to enlarge - Cliquer pour agrandir |
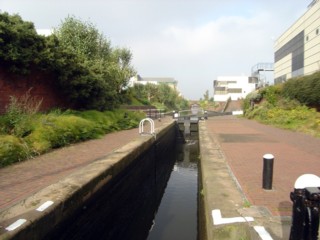
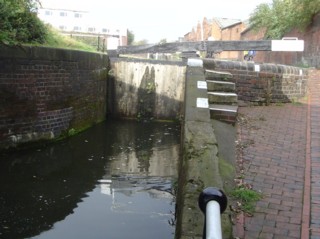
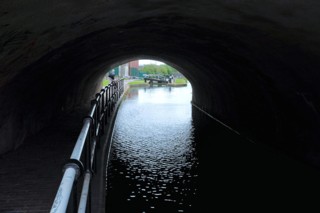
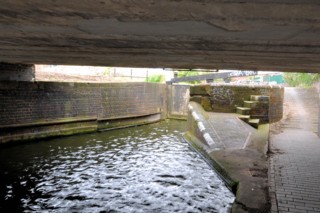
Ashted Tunnel seen from Ashted Top Lock No.1.
|
| Le Tunnel d'Ashted vu de l'Ecluse Supérieure n°1 d'Ashted. |
16-10-2005
Click to enlarge - Cliquer pour agrandir |
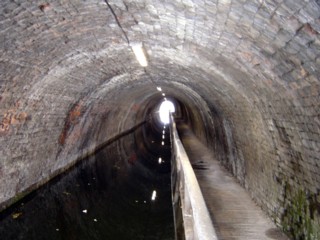
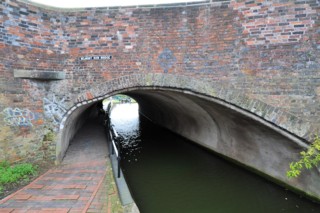
Ashted Tunnel.
|
| Tunnel d'Ashted. |
16-10-2005
Click to enlarge - Cliquer pour agrandir |
28-07-2009

Click to enlarge - Cliquer pour agrandir |
|
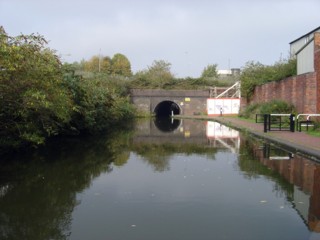
Ashted Tunnel seen from the Ashted Lock No.2 |
Le Tunnel d'Ashted vu de l'Ecluse n°2 d'Ashted. |
16-10-2005
Click to enlarge - Cliquer pour agrandir |
28-07-2009
Click to enlarge - Cliquer pour agrandir |
|
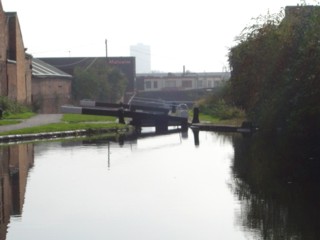
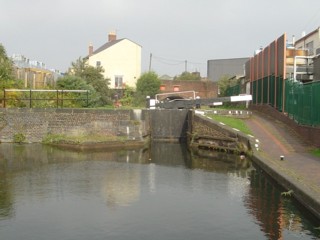
Ashted Lock No.2 seen from the North. |
L'Ecluse n°2 d'Ashted vue du Nord. |
16-10-2005
Click to enlarge - Cliquer pour agrandir |
28-07-2009
Click to enlarge - Cliquer pour agrandir |
|
Ashted Lock No.2 seen from Ashted Lock No.3. |
L'Ecluse n°2 d'Ashted vue de l'Ecluse n°3 d'Ashted. |
16-10-2005
Click to enlarge - Cliquer pour agrandir |
28-07-2009
Click to enlarge - Cliquer pour agrandir |
|
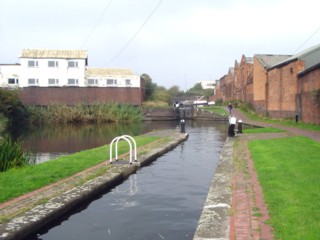
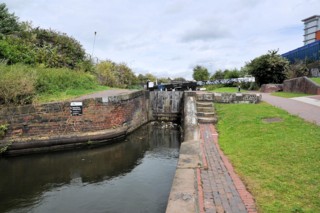
Ashted Lock No.3 seen from the South. |
L'Ecluse n°3 d'Ashted vue du Sud. |
28-07-2009
Click to enlarge - Cliquer pour agrandir |
Ashted Lock No.3 seen from the North.
|
| L'Ecluse n°3 d'Ashted vue du Nord. |
16-10-2005
Click to enlarge - Cliquer pour agrandir |
Ashted Lock No.3. At the back Lock No.2.
|
| Ecluse n°3 d'Ashted. A l'arrière, Ecluse n°2 d'Ashted. |
28-07-2009
Click to enlarge - Cliquer pour agrandir |
Belmont Row Bridge seen from the North.
|
| Le Pont de la Belmont Row vu du Nord. |
16-10-2005
Click to enlarge - Cliquer pour agrandir |
28-07-2009
Click to enlarge - Cliquer pour agrandir |
|
Belmont Row Bridge seen from the South. |
Le Pont de la Belmont Row vu du Sud. |
28-07-2009
Click to enlarge - Cliquer pour agrandir |
Belmont Row Bridge.
|
| Le Pont de la Belmont Row. |
28-07-2009

Click to enlarge - Cliquer pour agrandir |
Ashted Lock No.4 seen from the North.
|
| L'Ecluse n°4 d'Ashted vue du Nord. |
16-10-2005
Click to enlarge - Cliquer pour agrandir |
28-07-2009
Click to enlarge - Cliquer pour agrandir |
|
Ashted Lock No.4 seen from Ashted Lock No.5. |
L'Ecluse n°4 d'Ashted vue de l'Ecluse n°5 d'Ashted. |
16-10-2005
Click to enlarge - Cliquer pour agrandir |
28-07-2009

Click to enlarge - Cliquer pour agrandir |
|
Ashted Lock No.5 seen from Ashted Lock No.4. |
L'Ecluse n°5 d'Ashted vue de l'Ecluse n°4 d'Ashted. |
16-10-2005
Click to enlarge - Cliquer pour agrandir |
Ashted Lock No.5.
|
| L'Ecluse n°5 d'Ashted. |
28-07-2009
Click to enlarge - Cliquer pour agrandir |
Ashted Lock No.5 seen from under Curzon Street Bridge.
|
| L'Ecluse n°5 d'Ashted vue du sous du Pont de la Curzon Street. |
16-10-2005
Click to enlarge - Cliquer pour agrandir |
Curzon Street Bridge seen from the South.
|
| Le Pont de la Curzon Street vu du Sud. |
28-07-2009
Click to enlarge - Cliquer pour agrandir |
Ashted Bottom Lock No.6 seen from the North.
|
| L'Ecluse Inférieure n°6 d'Ashted vue du Nord. |
16-10-2005
Click to enlarge - Cliquer pour agrandir |
28-07-2009
Click to enlarge - Cliquer pour agrandir |
|
Ashted Bottom Lock No.6 seen from the South. |
L'Ecluse Inférieure n°6 d'Ashted vue du Sud. |
16-10-2005
Click to enlarge - Cliquer pour agrandir |
Ashted Bottom Lock.
|
| L'Ecluse Inférieure d'Ashted. |
|
Visitez/Bezoek/Visit
Click on the image - cliquer sur l'image |
|
The Digbeth Branch of the Birmingham & Fazeley Canal |
|
|