| Priest Holme |
 |
Click to enlarge - Cliquer pour agrandir |
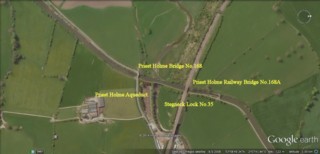
Leeds & Liverpool Canal seen by Google Earth.
|
| Le Canal de Leeds & Liverpool vu par Google Earth. |
28-09-2012
Click to enlarge - Cliquer sur l'image pour agrandir |
24-04-2016
Click to enlarge - Cliquer sur l'image pour agrandir
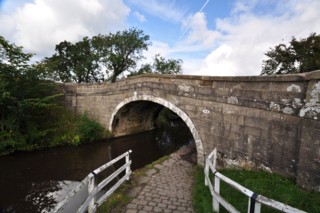
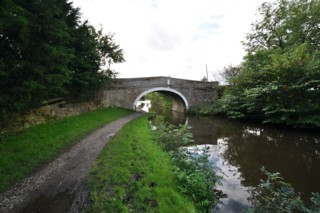
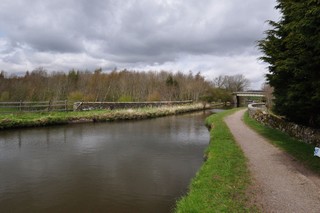
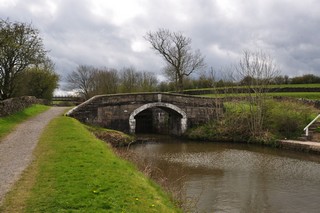
| Priest Holme Bridge No.168 seen from the South.
| Le Pont n°168 de Priest Holme vu du Sud. |
28-09-2012
Click to enlarge - Cliquer sur l'image pour agrandir |
24-04-2016
Click to enlarge - Cliquer sur l'image pour agrandir |
|
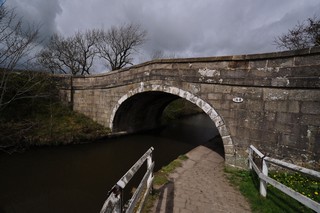
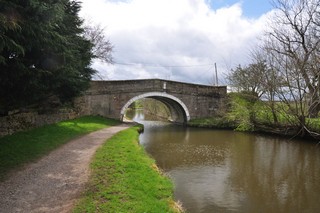
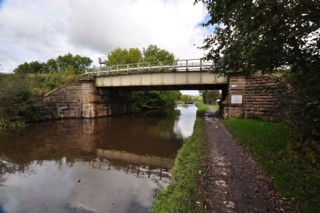
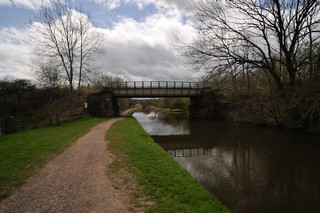
Priest Holme Bridge No.168 seen from the North. |
Le Pont n°168 de Priest Holme vu du Nord. |
Click to enlarge - Cliquer pour agrandir |
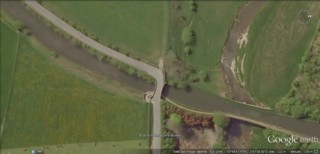
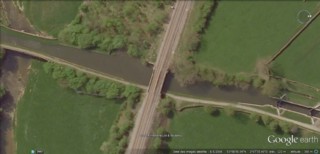
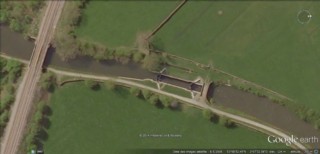
Priest Holme Bridge No.168 seen by Google Earth.
|
| Le Pont n°168 de Priest Holme vu par Google Earth. |
24-04-2016
Click to enlarge - Cliquer sur l'image pour agrandir |
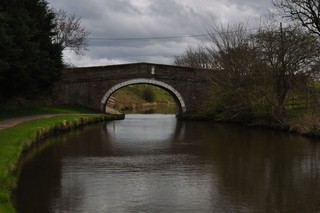
Priest Holme Bridge No.168 seen from Priest Holme Aqueduct.
|
| Le Pont n°168 de Priest Holme vu du Pont Canal de Priest Holme. |
28-09-2012
Click to enlarge - Cliquer sur l'image pour agrandir |
24-04-2016
Click to enlarge - Cliquer sur l'image pour agrandir |
|
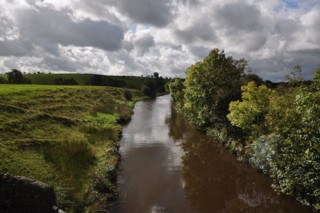
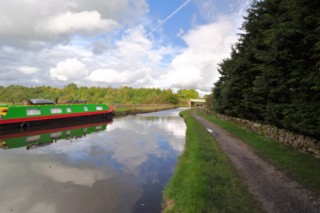
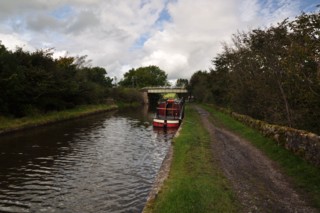
Looking to the South, the Leeds & Liverpool Canal seen from Priest Holme Bridge No.168. |
Les regards portés vers le Sud, le Canal de Leeds & Liverpool vu du Pont n°168 de Priest Holme. |
24-04-2016
Click to enlarge - Cliquer sur l'image pour agrandir |
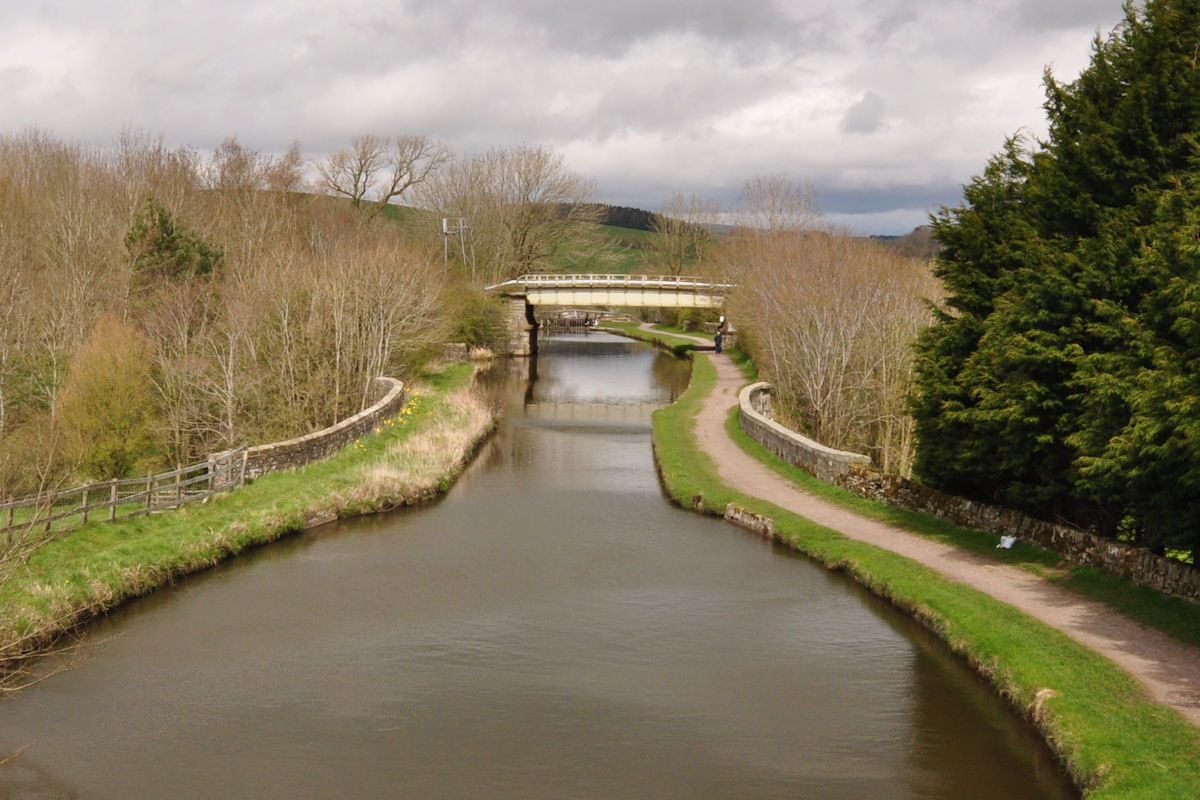
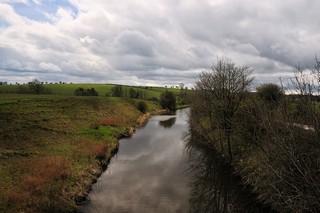
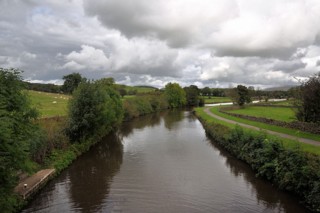
Looking to the North, the Leeds & Liverpool Canal seen from Priest Holme Bridge No.168. At the back, Priest Holme Aqueduct and Priest Holme Railway Bridge No.168A.
|
| Les regards portés vers le Nord, le Canal de Leeds & Liverpool vu du Pont n°168 de Priest Holme. À l'arrière, le Pont Canal de Priest Holme et le Pont Ferroviaire n°168A de Priest Holme. |
28-09-2012
Click to enlarge - Cliquer sur l'image pour agrandir | 24-04-2016

Click to enlarge - Cliquer sur l'image pour agrandir
| Priest Holme Aqueduct seen from Priest Holme Bridge No.168. At the back, Priest Holme Railway Bridge No.168A.
| Le Pont Canal de Priest Holme vu du Pont n°168 de Priest Holme. À l'arrière, le Pont Ferroviaire n°168A de Priest Holme. |
28-09-2012
Click to enlarge - Cliquer sur l'image pour agrandir | 24-04-2016
Click to enlarge - Cliquer sur l'image pour agrandir
| Priest Holme Aqueduct seen from the South.
| Le Pont Canal de Priest Holme vu du Sud. |
28-09-2012
Click to enlarge - Cliquer sur l'image pour agrandir |
24-04-2016

Click to enlarge - Cliquer sur l'image pour agrandir |
|
Priest Holme Aqueduct seen from the North. At the back, Priest Holme Bridge No.168. |
Le Pont Canal de Priest Holme vu du Nord. À l'arrière, le Pont n°168 de Priest Holme. |
Click to enlarge - Cliquer sur l'image pour agrandir |
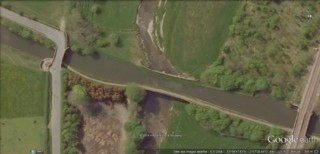
Priest Holme Aqueduct seen by Google Earth.
|
| Le Pont Canal de Priest Holme vu par Google Earth. |
28-09-2012
Click to enlarge - Cliquer sur l'image pour agrandir |
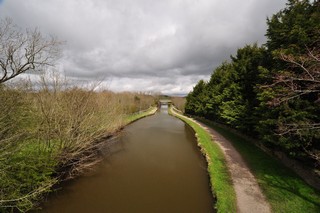
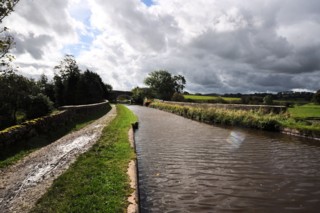
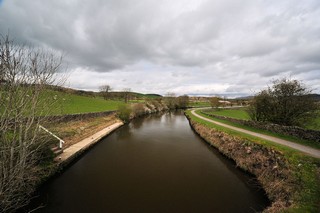
Looking to the North, the Leeds & Liverpool Canal seen from Priest Holme Aqueduct.
|
| Les regards portés vers le Nord, le Canal de Leeds & Liverpool vu du Pont Canal de Priest Holme. |
28-09-2012
Click to enlarge - Cliquer sur l'image pour agrandir | 24-04-2016
Click to enlarge - Cliquer sur l'image pour agrandir
| Priest Holme Railway Bridge No.168A seen from the South.
| Le Pont Ferroviaire n°168A de Priest Holme vu du Sud. |
28-09-2012
Click to enlarge - Cliquer sur l'image pour agrandir | 24-04-2016
Click to enlarge - Cliquer sur l'image pour agrandir
| Priest Holme Railway Bridge No.168A seen from the North.
| Le Pont Ferroviaire n°168A de Priest Holme vu du Nord. |
Click to enlarge - Cliquer sur l'image pour agrandir |
Priest Holme Railway Bridge No.168A seen by Google Earth.
|
| Le Pont Ferroviaire n°168A de Priest Holme vu par Google Earth. |
28-09-2012
Click to enlarge - Cliquer sur l'image pour agrandir |
24-04-2016
Click to enlarge - Cliquer sur l'image pour agrandir |
|
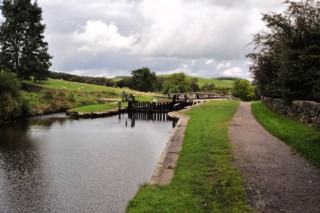
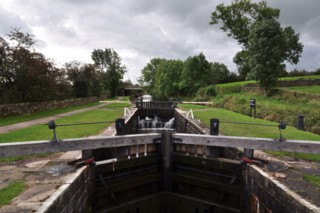
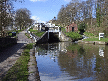
Steg Neck Lock No.35 seen from the South. |
L'Écluse n°35 de Steg Neck vue du Sud. |
Click to enlarge - Cliquer pour agrandir |
Steg Neck Lock No.35 seen by Google Earth.
|
| L'Écluse n°35 de Steg Neck vue par Google Earth. |
28-09-2012
Click to enlarge - Cliquer sur l'image pour agrandir |
24-04-2016
Click to enlarge - Cliquer sur l'image pour agrandir |
|
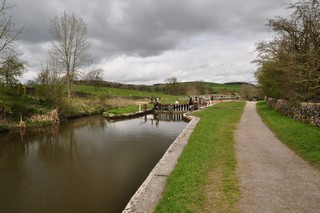
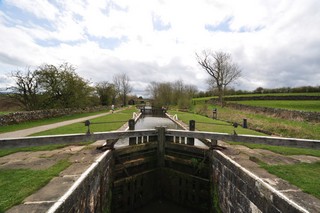
Steg Neck Lock No.35 seen from Steg Neck Bridge No.169. |
L'Écluse n°35 de Steg Neck vue du Pont n°169 de Steg Neck. |
28-09-2012
Click to enlarge - Cliquer sur l'image pour agrandir |
24-04-2016
Click to enlarge - Cliquer sur l'image pour agrandir |
|
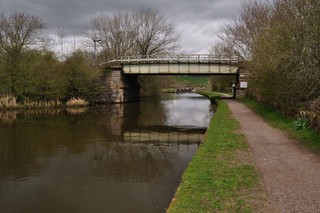
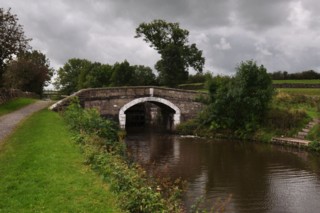
Steg Neck Bridge No.169 seen from the North. |
Le Pont n°169 de Steg Neck vu du Nord. |
28-09-2012
Click to enlarge - Cliquer sur l'image pour agrandir |
24-04-2016
Click to enlarge - Cliquer sur l'image pour agrandir |
|
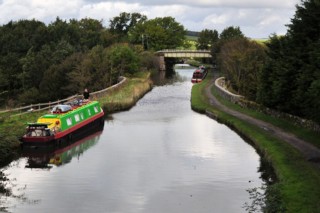
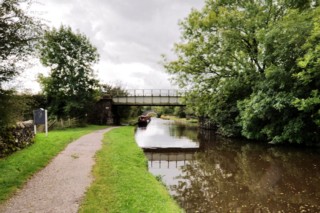
Looking to the North, the Leeds & Liverpool Canal seen from Steg Neck Bridge No.169. |
Les regards portés vers le Nord, le Canal de Leeds & Liverpool vu du Pont n°169 de Steg Neck. |
24-04-2016
Click to enlarge - Cliquer sur l'image pour agrandir |
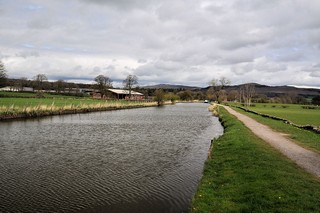
Looking to the North-East, the Leeds & Liverpool Canal to the North of Steg Neck Bridge No.169.
|
| Les regards portés vers le Nord-est, le Canal de Leeds & Liverpool au Nord du Pont n°169 de Steg Neck. |
|
Visitez/Bezoek/Visit
Click on the image - cliquer sur l'image |
|
Leeds & Liverpool Canal. |
|
|